Nail art is a fun and creative way to express your personality and style. Even if you are new to nail art, you can create beautiful designs at home with minimal tools and effort. Simple nail designs are perfect for beginners and can be done on short or long nails. This guide provides easy, step-by-step ideas and tips to help you achieve stunning nails without professional help.
Why Simple Nail Designs Are Perfect for Beginners
- Easy to learn and recreate
- Requires minimal tools
- Quick to do for daily wear
- Works for all nail lengths and shapes
- Allows experimentation with colors and patterns
Starting with simple designs builds confidence and creativity before moving to advanced nail art techniques.
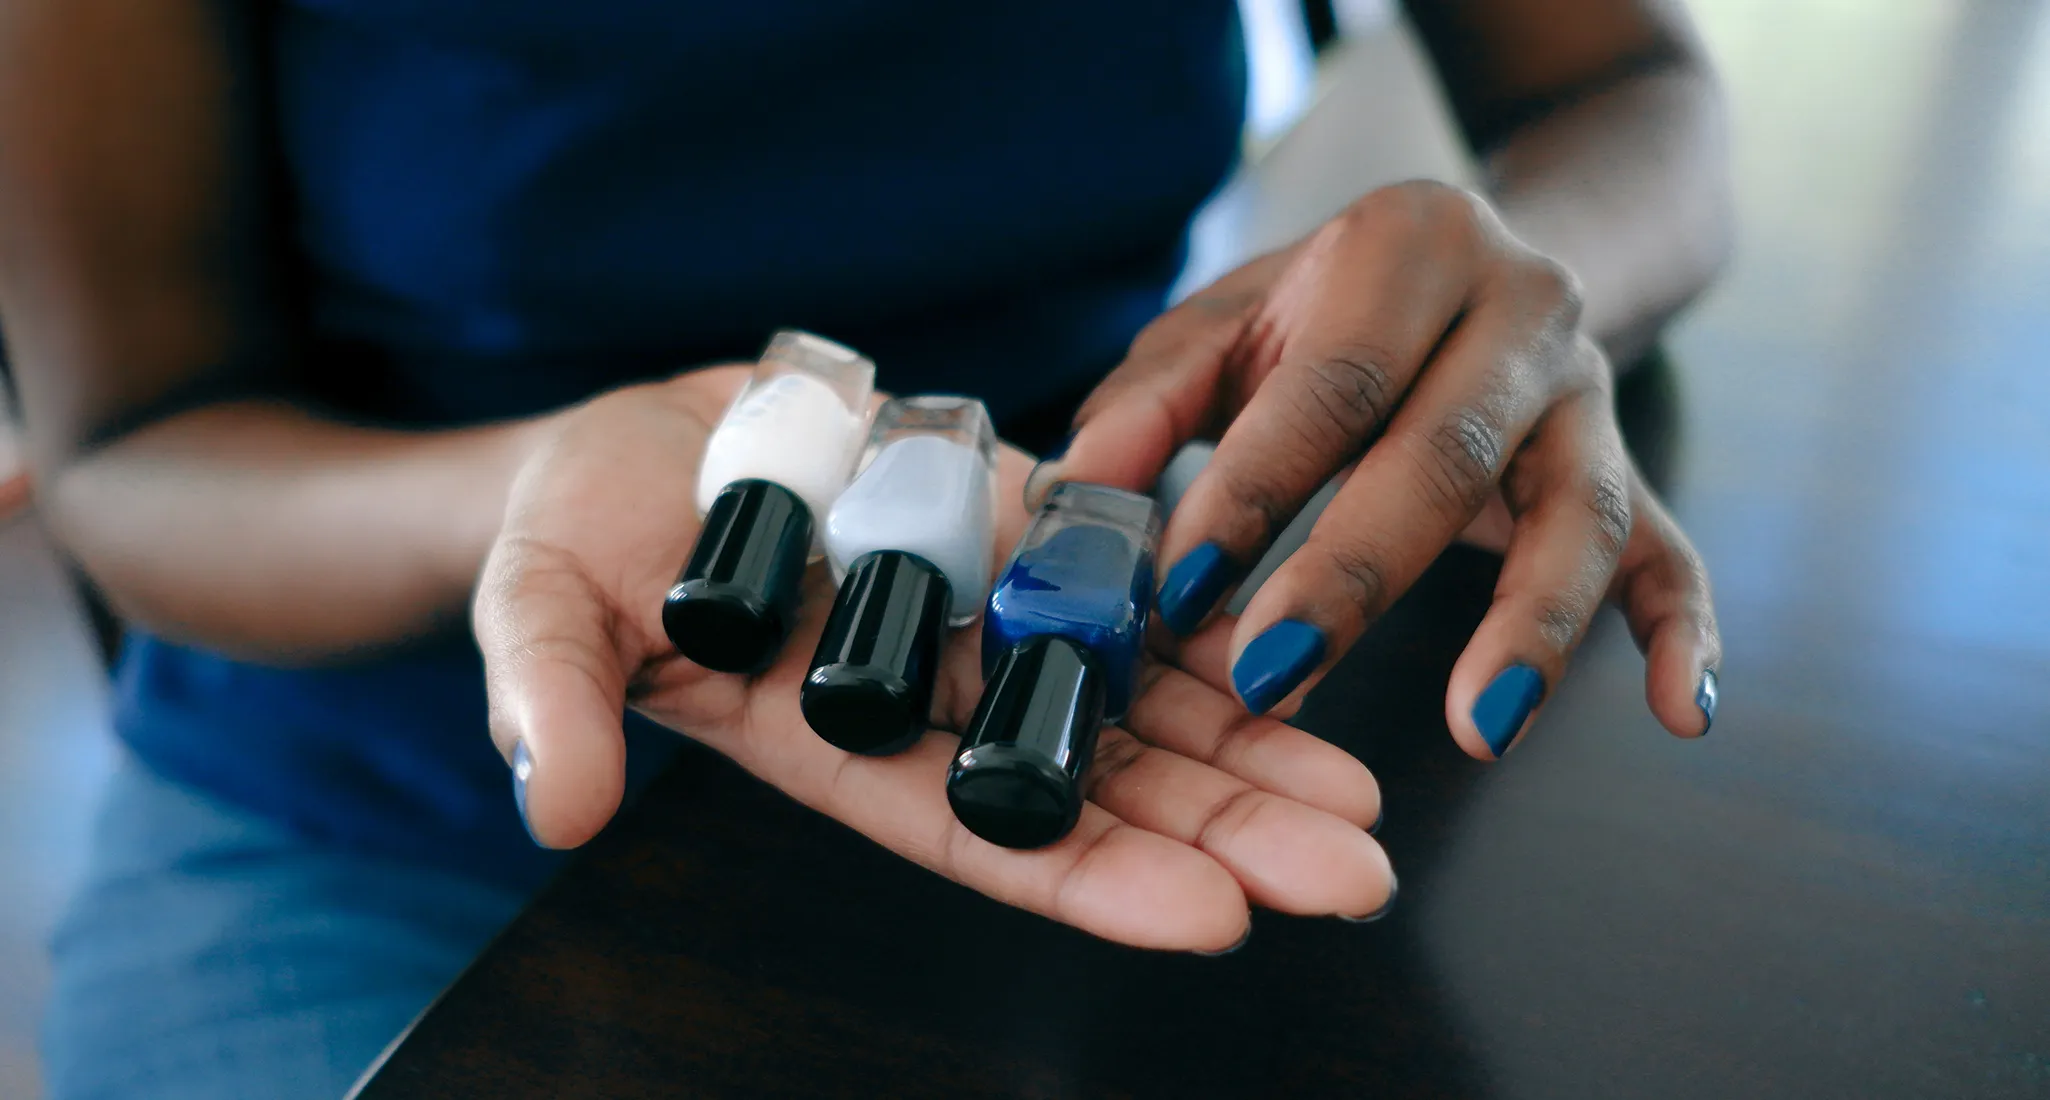
Essential Tools for Beginner Nail Designs
Before starting, gather basic tools:
- Nail polish in multiple colors
- Base coat and top coat
- Nail file and buffer
- Dotting tools or toothpicks
- Thin nail art brush
- Nail stickers or decals (optional)
- Cotton pads and nail polish remover
These tools are affordable and versatile for a variety of beginner designs.
Preparing Your Nails
1. Trim and Shape
- Trim nails to your preferred length
- File edges in one direction to avoid splitting
2. Clean and Buff
- Remove old polish and clean nails thoroughly
- Buff nails gently to smooth the surface
3. Apply Base Coat
- Protects nails from staining
- Provides a smooth surface for polish
- Helps designs last longer
Easy Nail Design Ideas for Beginners
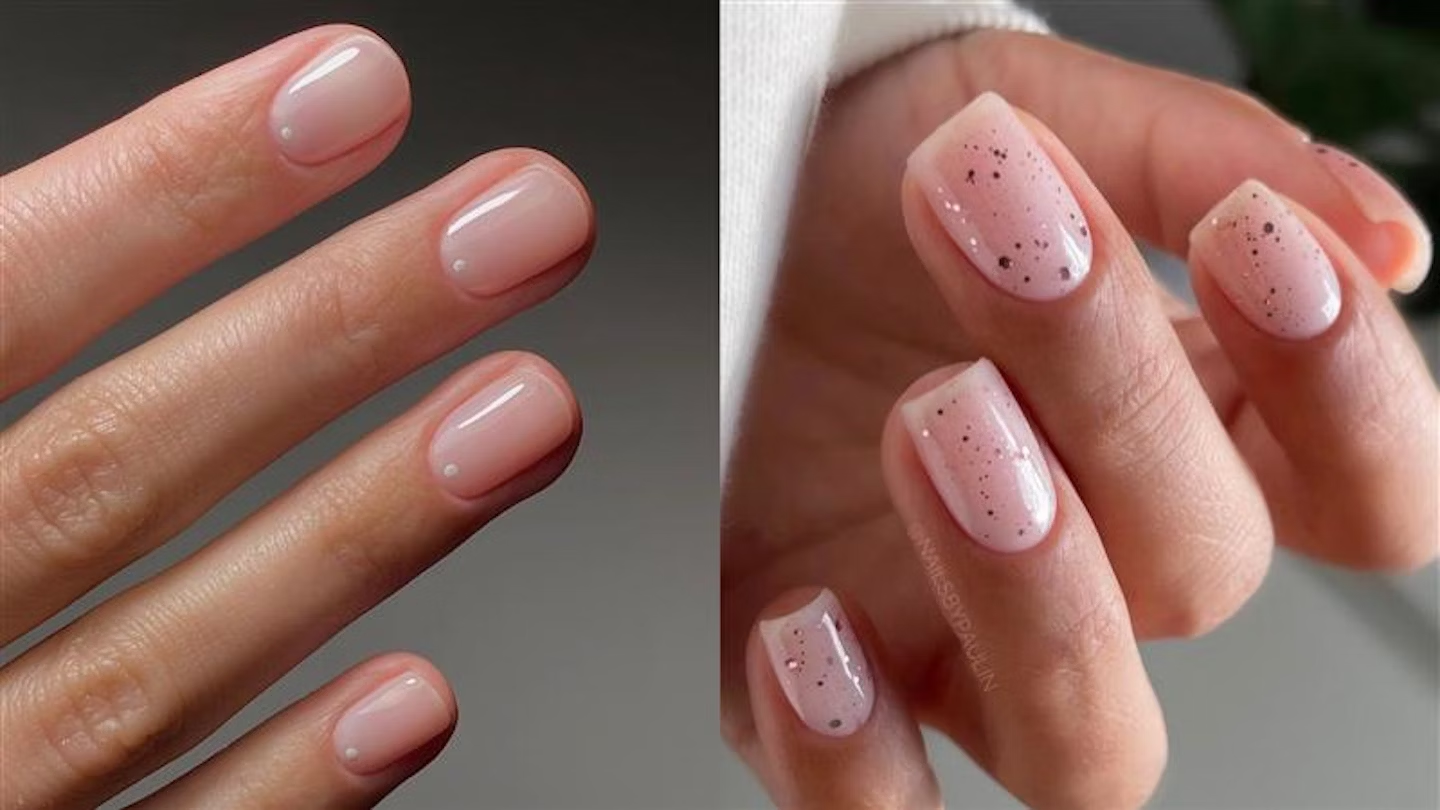
1. Polka Dots
Polka dots are fun, playful, and very easy to do.
Steps:
- Apply a base color and let it dry
- Use a dotting tool or toothpick to make dots in a contrasting color
- Add dots randomly or in patterns
- Finish with a top coat
Tips:
- Use different dot sizes for variety
- Try pastel colors for a soft look or bold colors for contrast
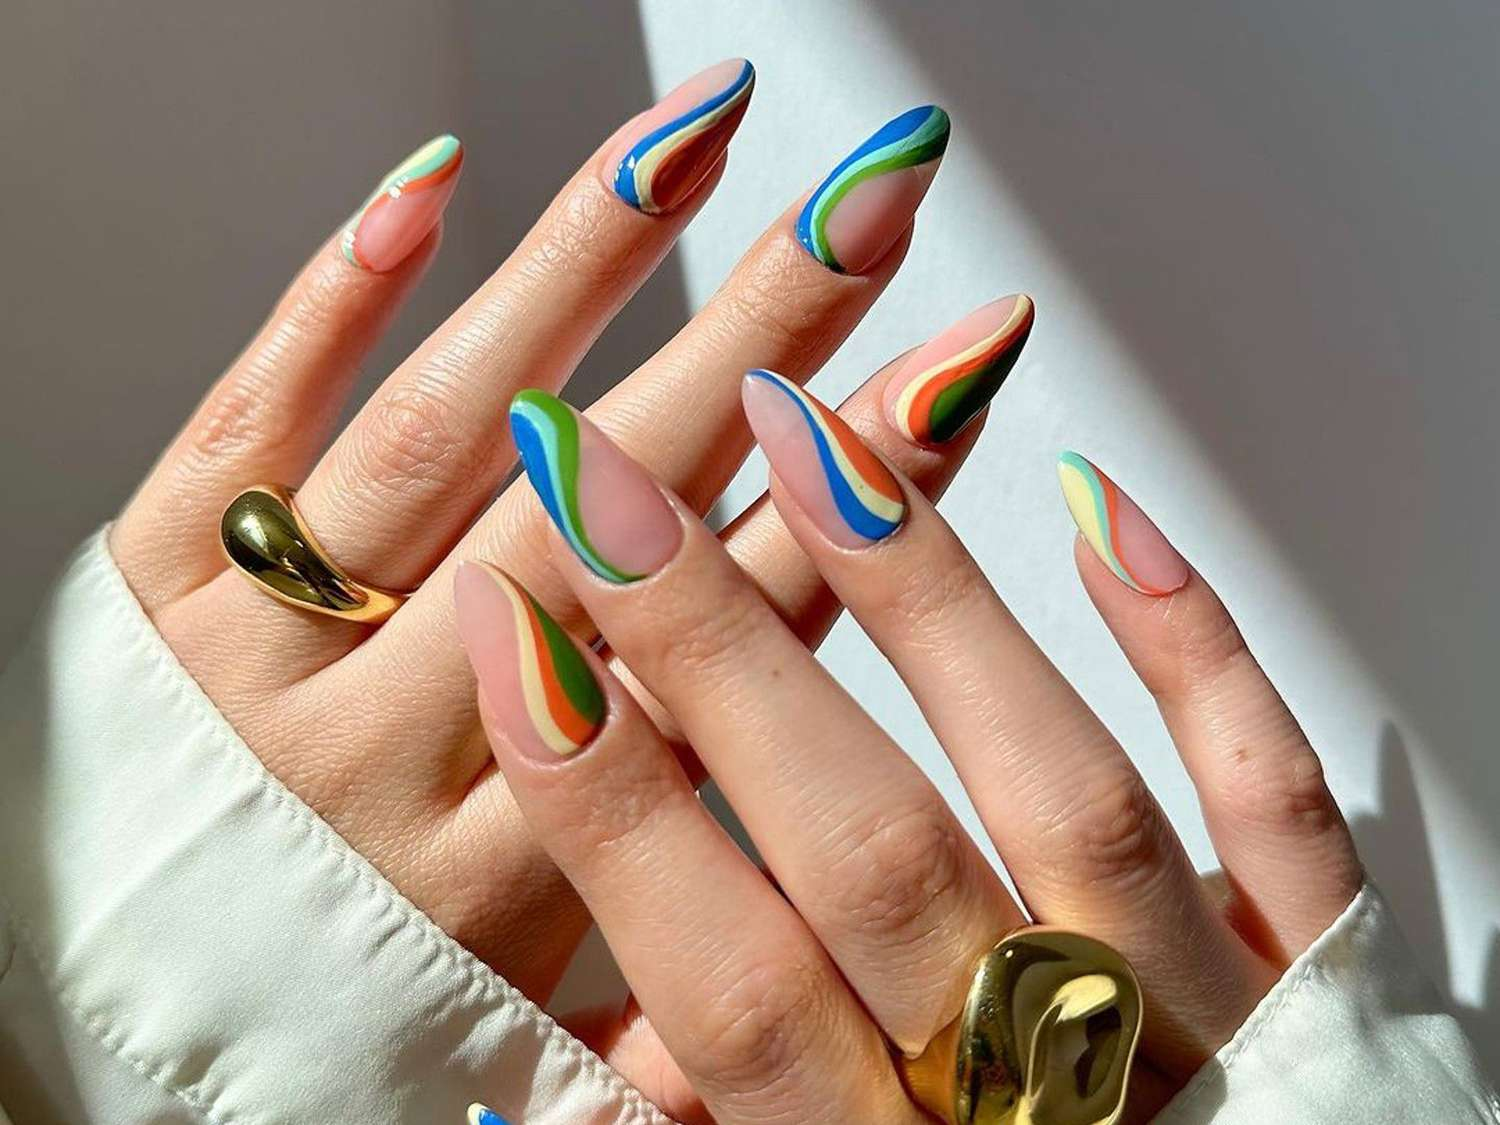
2. Stripes and Lines
Stripes add a modern and clean look to nails.
Steps:
- Apply a base color
- Use tape or a thin brush to paint vertical, horizontal, or diagonal stripes
- Let dry and seal with a top coat
Tips:
- Metallic or glitter stripes add elegance
- Mix thick and thin lines for a dynamic effect
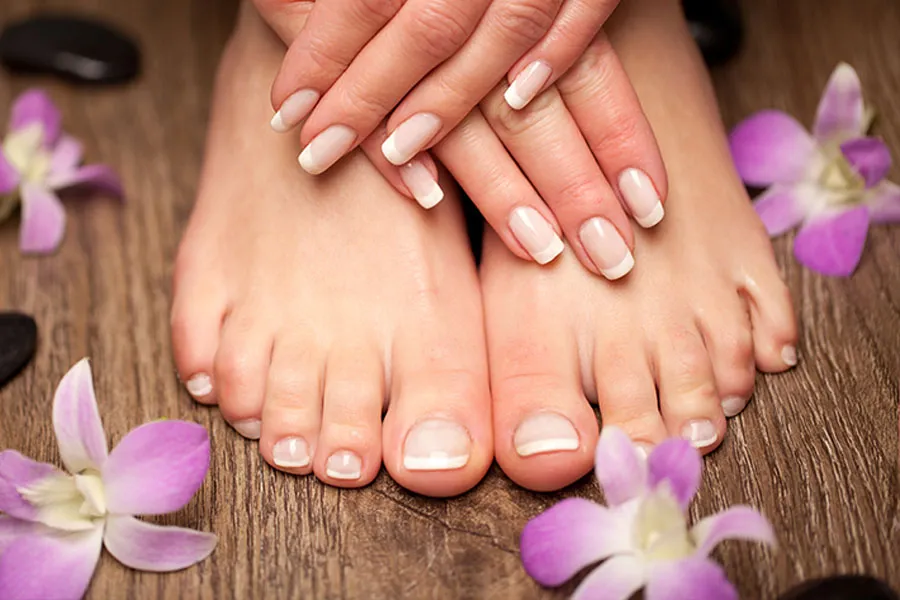
3. French Tips
A classic and elegant style perfect for beginners.
Steps:
- Apply a neutral or light base color
- Paint tips in white or another contrasting shade
- Optionally, add glitter or a thin line for detail
Tips:
- Use tape or nail guides for precision
- Bright colors create a modern twist on the classic look
4. Gradient or Ombre Nails
Ombre designs create a smooth color transition on nails.
Steps:
- Apply a light base color
- Use a sponge to blend two or more colors from base to tip
- Seal with a top coat
Tips:
- Pastel shades look soft and stylish
- Glitter ombre adds sparkle and fun
5. Minimalist Nail Art
Simple shapes like hearts, stars, or triangles work beautifully.
Steps:
- Apply a base color
- Use a thin brush or dotting tool to draw small shapes
- Finish with a top coat
Tips:
- Focus on one or two nails for a subtle look
- Perfect for work or school
6. Accent Nails
Accent nails create a focal point with minimal effort.
Steps:
- Paint most nails in a single color
- Decorate one or two nails with glitter, stickers, or patterns
- Seal with a top coat
Tips:
- Contrasting colors make accent nails stand out
- Use foil or metallic polish for extra flair
7. Floral Designs
Floral patterns are feminine and versatile.
Steps:
- Apply a base color
- Use a dotting tool or brush to create small flowers
- Add leaves or dots for decoration
- Finish with a top coat
Tips:
- White or pastel flowers look delicate
- Stickers or decals can simplify the process for beginners
8. Geometric Designs
Triangles, squares, and simple shapes make nails trendy.
Steps:
- Apply a base color
- Use tape or a thin brush to create shapes
- Fill shapes with contrasting colors
- Seal with a top coat
Tips:
- Asymmetrical designs look modern
- Metallic or glitter colors add a stylish touch
9. Marble Effect
Marble nails appear luxurious and unique.
Steps:
- Drop two or three nail polish colors on a plate
- Swirl lightly with a toothpick
- Apply to nails using a brush or sponge
- Finish with a top coat
Tips:
- Stick to 2–3 colors for subtlety
- Glossy top coat enhances the effect
10. Seasonal or Themed Nails
- Spring: Flowers and pastel shades
- Summer: Bright colors, fruits, or tropical patterns
- Autumn: Warm tones, leaves, and glitter
- Winter: Snowflakes and metallic accents
Tips:
- Stickers, decals, or stamps make themed nails easier
- Short nails work perfectly for small, detailed designs
Tips for Long-Lasting Nail Art
- Always use a base coat to protect nails
- Apply thin layers of polish for even coverage
- Seal designs with a top coat to prevent chipping
- Reapply top coat every 2–3 days
- Avoid using nails as tools
Benefits of Simple Nail Designs for Beginners
- Builds confidence and creativity
- Quick and easy for daily wear
- Affordable and budget-friendly
- Improves nail care habits
- Fun and relaxing activity at home
Final Thoughts
Simple nail designs are perfect for beginners who want stylish and creative nails without professional help. Polka dots, stripes, French tips, ombre gradients, minimalist shapes, accent nails, floral patterns, geometric designs, marble effects, and seasonal themes are all easy to create with basic tools. Consistent nail care, patience, and experimentation allow beginners to achieve beautiful nails while improving nail health. With practice, simple designs can become a creative outlet and a fun way to express your personal style.